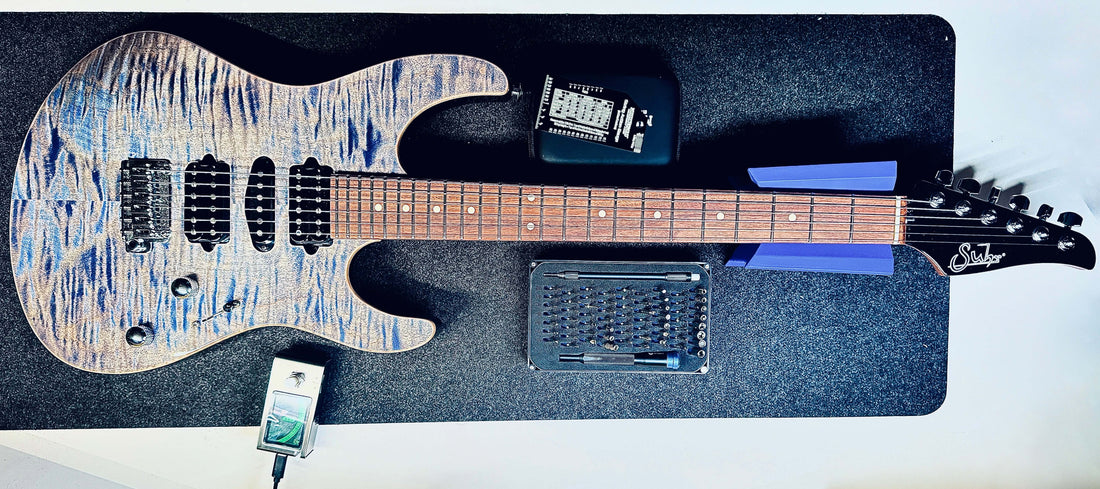
How to Perfectly Set Up Guitar Action and Neck Relief: A Step-by-Step Guide
No matter how much your guitar is, a good setup is very beneficial. When adjusting your guitar, precision, and having a balance are very important. Here are my setup tips, hopefully, it will help you and your guitars to have better performance.
Neck Relief
-
Check Neck Relief:
- Press down the D and G strings at the 1st and 17th frets.
- Measure the relief at the 7th fret. It should be around 0.005” (0.127mm).
- Using a capo on the 1st fret can make this easier.
Action
- Set String Action:
- For open strings, the action should measure 4/64” (1.587mm) at the last fret

-
For the Bridge Plate, it should be approximately 3/64” (1.190mm) above the guitar body

Pickup Height
-
Adjust Pickup Height:
- Ensure the strings are pressed down at the last fret when measuring.

Pickup Type Low E Height High E Height Single Coils 8/64” (3.175mm) 6/64” (2.381mm) Neck Humbucker 7/64” (2.778mm) 6/64” (2.381mm) Bridge Humbucker 6/64” (2.381mm) 5/64” (1.984mm) P90 8/64” (2.778mm) 6/64” (2.381mm) - Ensure the strings are pressed down at the last fret when measuring.
Note: Ensure the strings are pressed down at the last fret when measuring pickup heights.
Final Tips
- Always measure and set the specifications while the guitar is in the playing position. This ensures accuracy and optimal playability.
